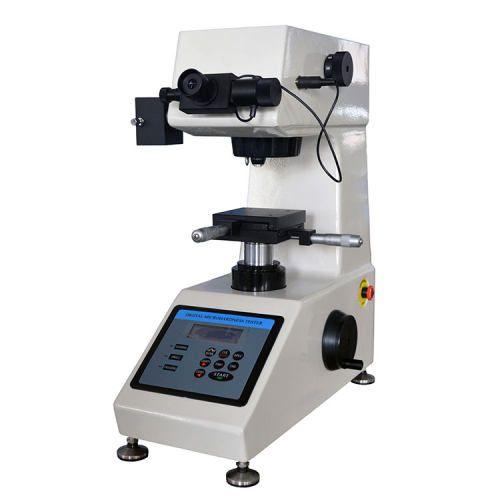
Using a Vickers hardness tester can be difficult for a variety of reasons. These difficulties frequently relate to specific aspects of the test and must be addressed with care:
Technical difficulties
l Precise measurements: It is critical to accurately measure the microscopic indentations when calculating the hardness value. Incorrect results can be caused by poor lighting, magnification, or calibration.
l Loading and dwell time: It is critical for repeatability to maintain a consistent load and dwell time (duration of load application). Slight variations in the indentation can affect the hardness value.
l Indenter condition: It is critical to keep a sharp and clean diamond indenter. Indenters that are blunt or chipped can produce irregular indentations and inaccurate measurements.
l Environmental factors: Vibrations, temperature fluctuations, and dust can all have an impact on test accuracy. It is critical to maintain a stable and controlled environment.
Operational difficulties
l Operator skill and training: Using the Vickers tester and interpreting the results take considerable skill and training. Improper operation can result in errors and untrustworthy data.
l Sample preparation: It is critical to properly prepare the test surface. Roughness, contamination, or improper polishing can all have an impact on the indentation and the results.
l Data analysis and interpretation: Calculating and interpreting the hardness value in the context of the material and application necessitates knowledge and proper analysis techniques.
Additional difficulties
l Time-consuming: Vickers hardness tests can be slower than other hardness tests due to the meticulous measurements and calculations involved.
l Destructive nature: The test leaves a permanent indentation on the material, which may be undesirable in some applications, particularly those involving sensitive or valuable samples.
Overcoming these difficulties
l Proper training for operators: Ensure that operators are properly trained on the instrument, testing procedures, and data interpretation.
l Precise equipment calibration: To ensure accuracy, calibrate the tester and measuring instruments on a regular basis.
l Controlled testing environment: Reduce vibrations, temperature swings, and dust in the testing area.
l Careful sample preparation:To ensure a smooth and clean test surface, use proper polishing and cleaning procedures.
l Data analysis with expertise: Analyze and interpret the results while keeping the material properties and testing conditions in mind.
l Alternative methods: If the limitations or difficulties of Vickers outweigh the benefits for your specific application, consider alternative hardness test methods.
When using a Vickers hardness tester, you can ensure accurate and reliable results by acknowledging these challenges and taking steps to mitigate them.


